-
.
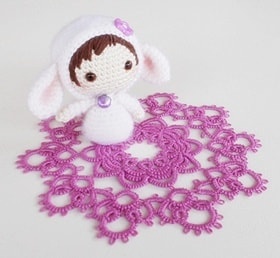
Ros, letto così mi sembra arabo  ..però guardando l'immagine sembrano maglie in rilievo incrociate fra i ventaglietti...forse che questo tutorial ti può aiutare
 .
. -
Plutina.
User deleted
rosaura sei riuscita? . -
rosaurapisa.
User deleted
Grazie Lella per il tutorial , in effetti il punto è quello che conoscevo
No Rita non mi viene i punto della foto, non riesco a capire perchè al 3° giro fa 3 FPT mentre al 5° sono solo 2. -
Mir 2.
User deleted
Grazie Lella per il tutorial , in effetti il punto è quello che conoscevo
No Rita non mi viene i punto della foto, non riesco a capire perchè al 3° giro fa 3 FPT mentre al 5° sono solo 2
Row 2 (wrong side): Ch 1. Sc in each st across. Turn.
Row 3: Ch 3 (counts as first dc). Dc in next sc, sk next sc, *work FPT (front post triple)
around the post of dc below next sc, work FPT around the post of next dc on same row; working around both FPT just made, work FPT around the post of dc to the right of first FPT, sk 5 sc behind FPT group, 5 dc in next sc; sk 3 sc, repeat from * across to last 2 sc, dc in last 2 sc. Turn.
Rows 4: Ch 1. Sc in each st across. Turn.
Row 5: Ch 3. Dc in next sc, * (sk next FPT on row below, work FPT around the post of the
next 2 FPT, work FPT around the post of skipped FPT), sk 5 dc behind FPT group, 5 dc in next sc, sk next 2 sc; repeat from * across to last 2 sc, dc in last 2 sc. Turn.
Rosaura, 3° giro si lavora 3 FPT e in 5° giro si lavora: (si salta primo FPT sottostante, unccinettare FPT idella prossimi 2 FPT, e poi lavorare il post di FPT saltato - significa il primo FPT-)
 .
. -
rosaurapisa.
User deleted
Grazie Mirta credo di aver capito , più tardi provo e poi vi faccio vedere .

Aiuto traduzione |

 Contacts
 Web
Web